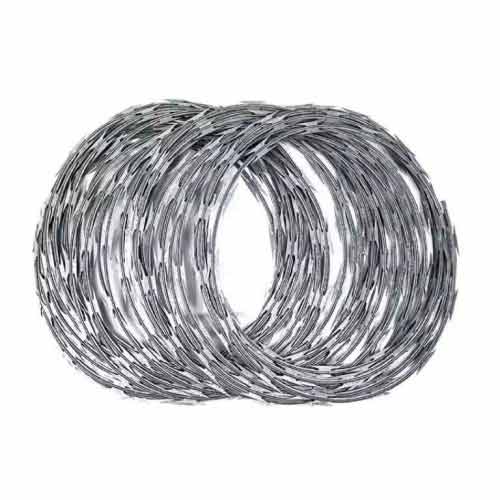
Product details description
Warning: Concertina (razor) wire is an extremely hazardous material
designed to cause severe injury. Its use is heavily regulated and often illegal
for residential perimeter security in many municipalities. This guide is for
informational purposes only regarding industrial or legally permissible
agricultural applications. Always check local, state, and federal laws before
considering such a barrier. For home security, consider safe, legal alternatives
like anti-climb fences, security cameras, and motion-sensor lighting.
Assuming legal and safe application on a permitted property (e.g., a remote
farm or secured equipment yard), installing a concertina wire fence topping
requires meticulous planning and safety equipment. This setup enhances an
existing chain link or welded mesh fence.
Step 1: Planning, Permits, and Safety Gear. First, verify it is legal.
Obtain any necessary permits. Mark the fence line where the coil will be
installed, typically along the top. Gather materials: concertina coil(s),
tension bars, hog rings or wire ties, gloves, safety glasses, heavy-duty leather
or cut-resistant gloves, and long-sleeve clothing. Never handle concertina wire
with bare hands.
Step 2: Preparing the Fence Line. Ensure the primary fence (e.g., chain
link) is structurally sound, with posts firmly set. For a standalone concertina
fence (not a topping), you must install sturdy metal posts at regular intervals.
Clear all vegetation and obstacles from the base and immediate area to prevent
entanglement during installation.
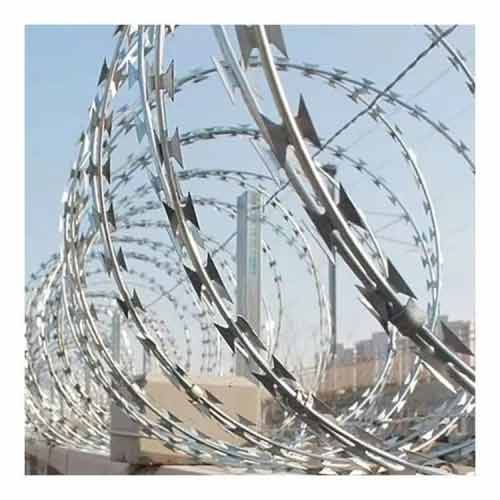
Step 3: Deploying the Concertina Coil. This is a two-person job. Wearing
full protective gear, carefully lift the compressed coil to the fence top. One
person holds the coil in place while the other gently pulls the leading end
along the fence line. Never let the coil "spring open" uncontrollably. It is
deployed under slight tension. For a top mounting, use manufacturer-supplied
tension bars threaded through the coil's end and middle links, which are then
securely fastened to the fence posts using heavy-duty brackets or clamps.
Step 4: Securing and Joining. As you unroll, periodically secure the coil
to the underlying fence every 12-18 inches using galvanized wire ties or hog
rings and pliers. Attach it to the fence fabric *and* the top rail for
stability. When joining two coils, interlink the end spirals carefully and
secure them together with multiple wire ties. Ensure there are no loose ends or
gaps.
Step 5: Final Inspection and Signage. Once installed, walk the entire
length to check for secure attachments, proper tension, and any hazardous
protrusions. Install conspicuous warning signs (e.g., "Danger - Razor Wire") at
regular intervals facing outward. This is both a legal requirement and a
critical safety measure to deter accidental contact and limit liability.
Previous article:
Maximizing Perimeter Security with Concertina Wire Fence
Next article:
Concertina Wire Deployment Systems